Here is a little freebie from me to you. One of the great things about the lockdown is that for the first time every I have had the time to do an appropriate illustration Star Wars fan girl here from way back aaaaand I had a lisp as a kid 😉 Just click on The Child / Baby Yoda and it will take you to my Ko-Fi site. It appears to be less involved than doing downloads from my website. Print it out as is or have fun colouring it in.
I have fun drawing it, it is a continuous line drawing. The Child really could do with some shading of his eyes as they are looking more like Yodas, but that is up to you. Should you like some tips on how to use coloured pencils, you can check out a prior post here. Please note that as the artist I still retain the copyright. I hope you enjoy x
Would you like a digital portrait of your favourite pet/s or animal sent straight to your inbox? A digital commission is also a wonderful gift to send to a friend or your mum for Mothers’ Day, it is contact-less and super easy. I still have a few openings available. Get in touch via the contact form or my website and we can discuss options. Prices start from just $30.00 NZD. I look forward to hearing from you 🙂
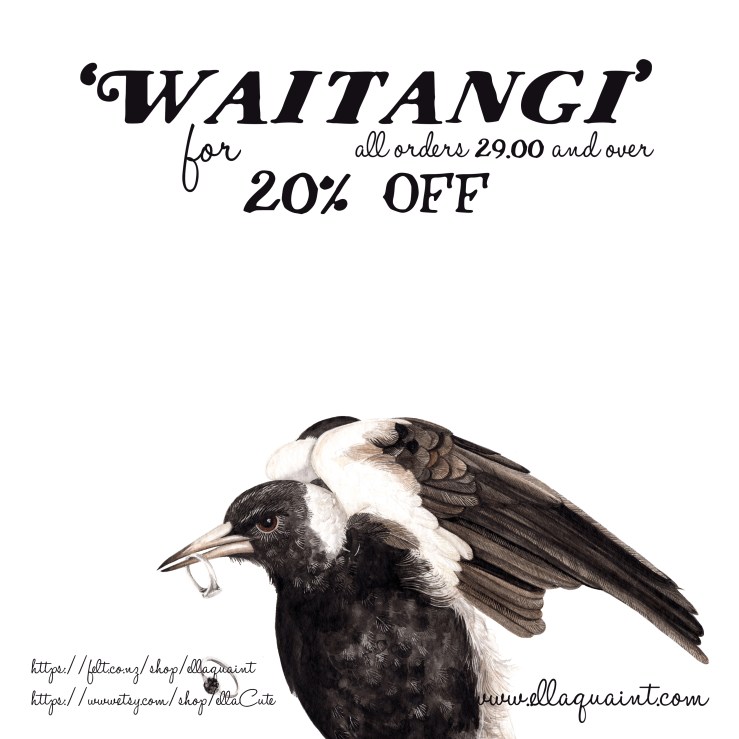
In honour of Waitangi Day on Monday, here is a little surprise for you!
20% off every purchase NZ $29.00 (that equates to approx US$21.00 or 16 pounds) or more using the code ‘Waitangi’ at either my website, Felt or Etsy stores. To use the code on my website, enter it at the very last stages of paypal’s checkout process. It is a little like playing chicken.
Oh and a free hand gilded item with every fine art giclee print purchased. Ranging from a hand gilded in copper or gold gift card, to a greeting card to a gorgeous love inspired illustration. Please state whether you would prefer copper or gold at checkout x
Some of the freebies that went off to their new homes with orders today. Hand gilded the traditional way using size, gold / copper leaf, patience and a bit of elbow grease. The cards are available for purchase separately here too.
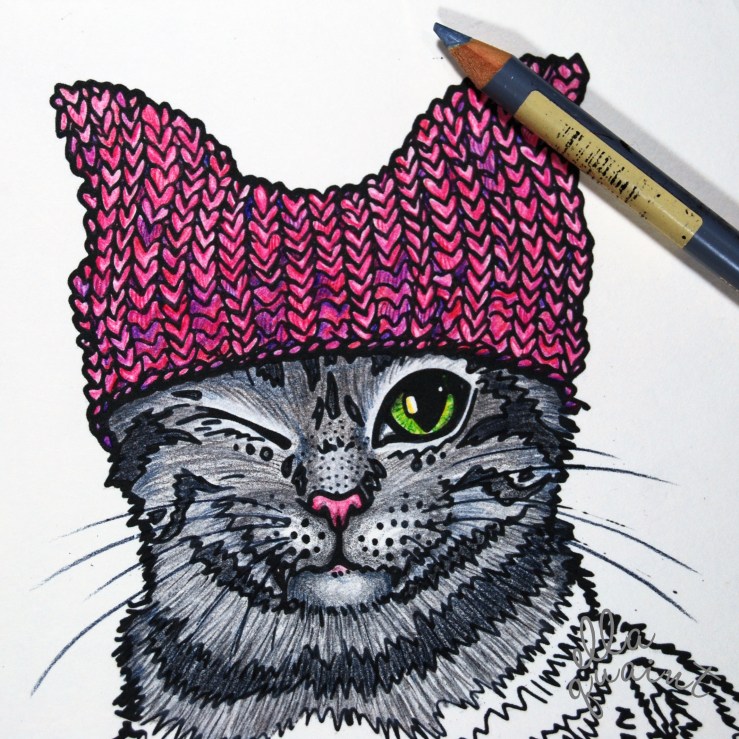
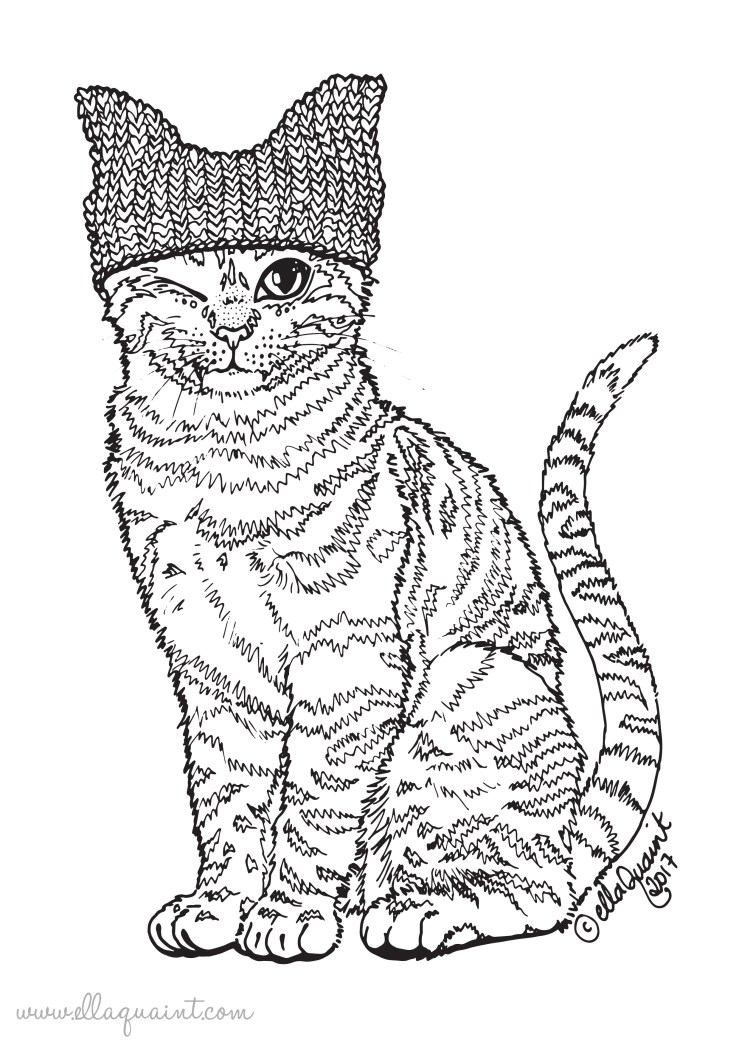
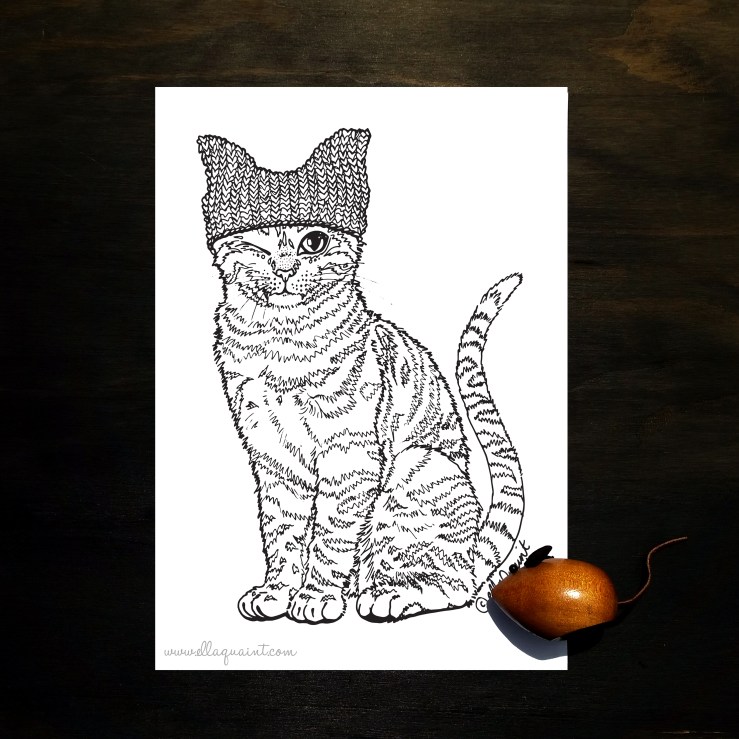
Today the unthinkable happened, who would have thought that The Simpsons could have been so prophetic. I was unable to make it to our Women’s March held here in Auckland but I wanted to demonstrate my solidarity for all folk who are going to be affected by the inauguration of President Trump. The result was this colouring page which I intended to be a freebie for you to colour as you wish. However I do think that the cat wants it’s hat to be pink.
Image of The Women’s March Washington courtesy of ABC News
You can download it from either my website ellaquaint for free! If you have any issues you can message me and I can send you the full sized file or you get it via my etsy store ellacute for a token gesture amount (at 25c it covers the listing and sale fee).
Colouring is said to be excellent for mindfulness, a technique that helps easy worry or anxiety. I have to admit that drawing colouring pages has a calming effect on me. An insightful thought by Matt Haig . . . ‘to be calm becomes a revolutionary act.’ Please enjoy this token of my passive resistance. When times like this happen it is important that we stand together and let the powers that be know that we are watching and we are judging. Kia kaha (stand strong) you fabulous folk in the U.S who are making a stand against that ridiculous man and all that he represents.
Pink Pussy Hat Cat 2017 by ellaquaint
Footage that I have seen of the turn out has been so inspiring and I get the sense that this is only the beginning. Thanks to Sway-rey for sharing this amazing clip of the phenomenal turn out across the US.
The hat pattern that inspired the had that this wee kitty is wearing is sourced from the wonderful Ravelry and is by Destiny Meyer.
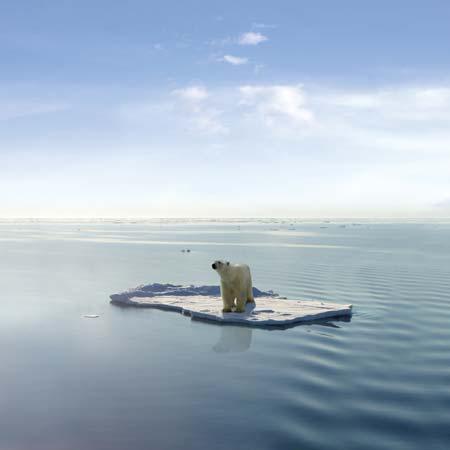
There is something rather amazing about animals that have evolved to survive some of the most extreme conditions on the planet. The Arctic and other similar environments have influenced the evolution of such creatures as polar bears, arctic wolves and snow leopards. Like many folk who are aware of the increasing issues associated with global warming, how these stunning creatures will continue to survive in altered climates is a something that is of concern to me. It is alarming that increasingly we see in the news and social media evidence that the climate is changing faster than we can act.
Sir David Attenborough is one of my biggest heroes and I have so loved watching the programme Frozen Planet that was screened in 2013. Like many of his documentaries, it has been the source of inspiration for one of my most favourite series; ‘Snow Beasts’.
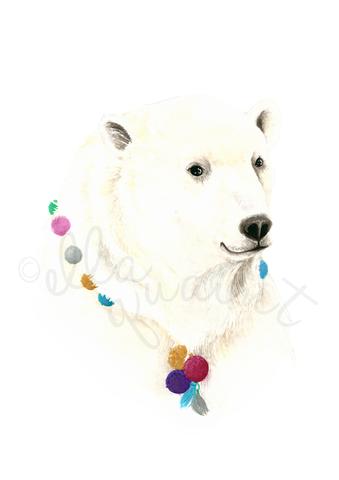
This series was attempting to explore notions around how animals who are dependent on arctic conditions could potentially survived in an environment where the temperature has increased. Already places are having issues with wild animals hunting / foraging closer to suburban / urban areas, due to habitat loss. Animals who are domesticated face a greater chance of survival.
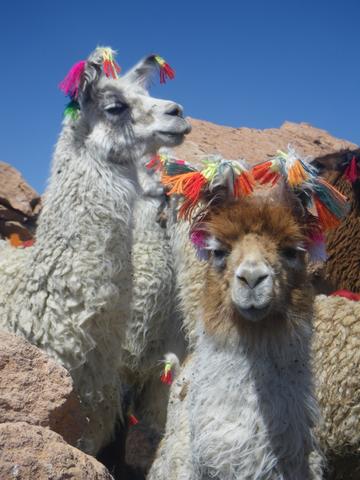
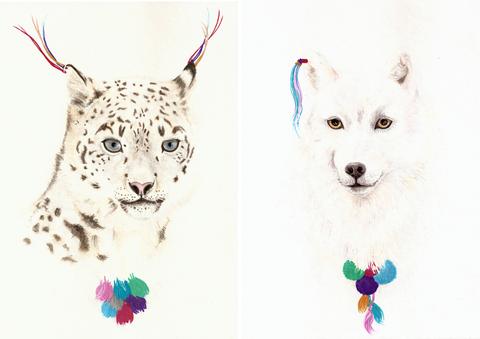
Peruvian llamas as pictured here are marked with coloured tassels on their ears to note their bloodlines and ownership. This inspired me to experiment with similar adornments on wild animals who live in cooler climes.
Snow Leopard (unedited) and Arctic Wolf 2013 by ellaquaint
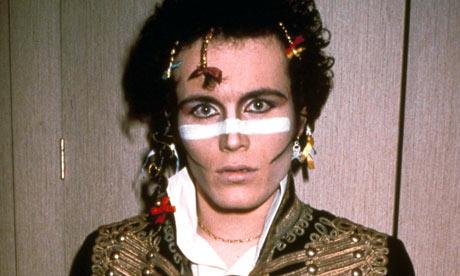
This was my initial idea, but while painting them, I started thinking that conceptually it was a great idea, actually having these amazing wild beasts with their ears pierced like cattle made me cringe. Also there was that 80’s association . . .
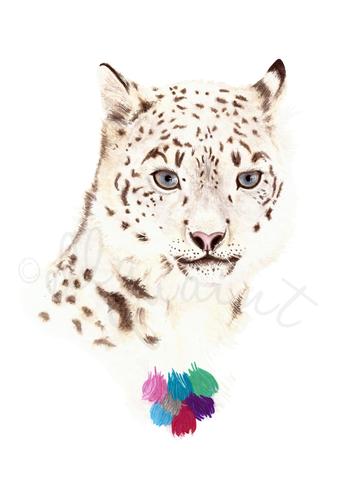
So in the end I edited out the ear tassels in Snow Leopard and I am very pleased with the results. I did however end up keeping the Arctic Wolf as I had initially visualized. It still alludes the ideas that I was exploring without being lost to 80’s pop music references.
The animals themselves were rendered using watercolour washes layered up very subtly in a manner akin to oil paint glazes. It is a time involved process and requires you to pretty decisive and quick so as to not shift and blend the previous layers of watercolour around. For the intensive pops of colour, I used gauache as it is near impossible to get that same sense of opaque saturation with watercolour paints.
The limited edition giclee prints of these, both in A3, A4 and A5 format are still available for purchase. Some formats in the editions are getting low in stocks. Polar Bear, Snow Leopard and Arctic Wolf can be found on my website ellaquaint or on my Etsy store ellacute.
Because this is a blog article I wrote a couple of years ago, I was slack when it came to documenting where I sourced the images from that weren’t my own. If you recognize any and can let me know, then I can give credit where credit is due. Thank you!
In a past life, I was a teacher of Art. I loved the students (well most of them) and the teaching aspect of the job; it was the politics and paper work that sent me running for the hills. As they say, once a teacher . . . always a teacher. Here are some handy hints for expanding your colouring / drawing techniques. At the end is a glossary of art terms that I have used throughout this article that you might or might not be familiar with.
1) Work from a photo / similar source image
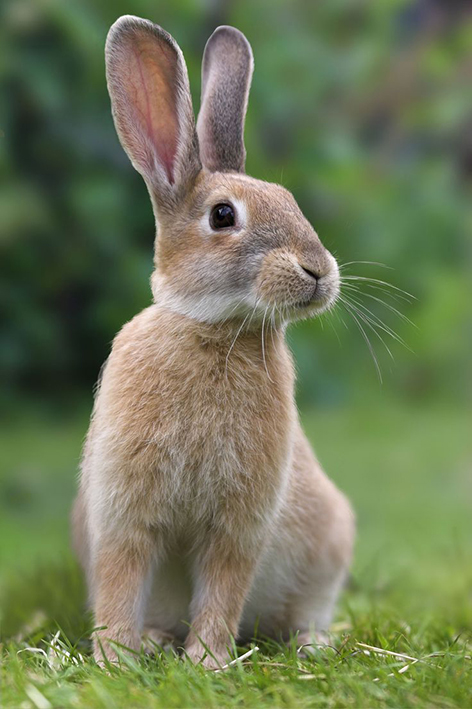
Photo by Paul Murphy
Here is the image that I used as my inspiration for the rabbit in this illustration. If you are wanting your colouring to look slightly realistic, then you want to look to nature for ideas as to the different colours that occur in the object as well as how the different light tones and dark tones work together to make it look 3-dimensional. However if you don’t worry about realism and are happy to have fun with it, ignore this step completely.
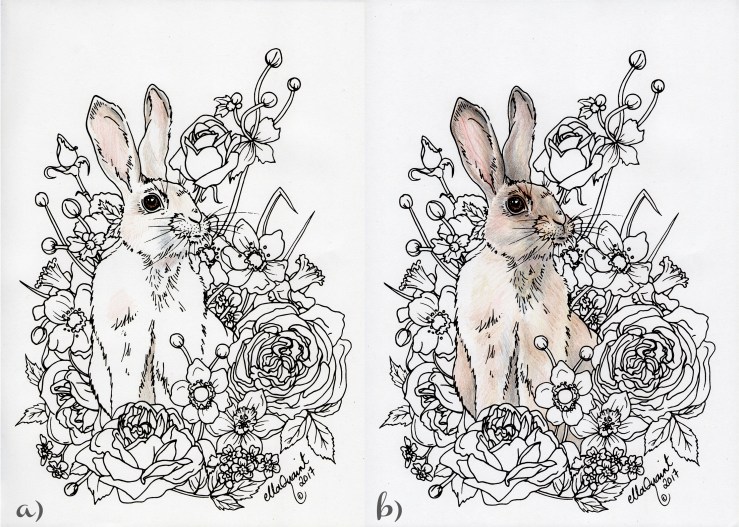
2) Decide what technique you want to use to colour
a) is an example of just moving the pencil across the paper and gradually applying more pressure to it as you move down the page. It is a lovely way to show lighter tones changing into darker.
b) demonstrates a drawing technique called ‘hatching’. It involves diagonal lines, often they will be parallel to each other. It is good to make sure you have a super sharp pencil for this style of rendering. Again here I have changed the pressure I have applied to the pencil, starting from just moving the pencil across the page to then gradually pressing harder as I moved down the page.
c) here I have layered up hatching that is at different angles, this is called ‘cross hatching’. I have used dark indigo and burnt umber, these two colours when blended or layered up together create a lovey black alternative for shading or creating dark tones. The pencils could have been sharper but hey, I was on a roll.
d) again here are dark indigo and burnt umber applied on top of each other. This time I have gone back to using the same style of colouring as I did in a) moving the pencils across the page without applying pressure then ever so gradually pressing harder.
3) Creating richness and depth to your colour work
For the purpose of this tutorial, I have exaggerated the colours just a bit so it is easier to see what I am doing. The idea behind this is to layer up colours so that the final product is not just different tones of the same hue. By gradually working up colours into and on top of each other, you can achieve a lovely rich effect that adds vibrancy to your pencil work.
For this demonstration I have used my own design ‘Bunny Bouquet’. Should you find it appealing, you can purchase and download it via my etsy store ellacute. The pencils I love to use are Faber Castell Polychromos. They have an amazing spectrum of hues and layer up beautifully. The colours I have used for colouring the rabbit are;
burnt ochre
raw umber
venetian red
burnt sienna
walnut brown
burnt umber
dark indigo
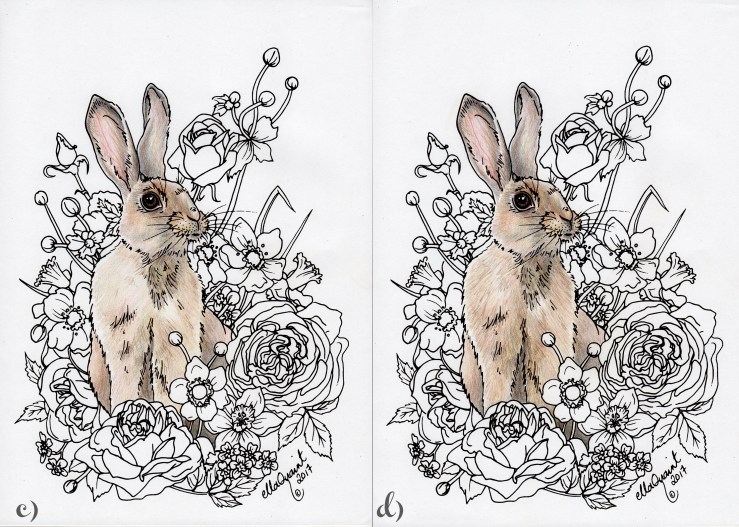
a) here I have picked out some key colours for base areas starting with the rabbit’s ears. I looked carefully to see what shapes the different areas of colour were. The aim is to gradually layer up colours, not to go hard out straight away. You can always go darker or layer up addional colours later.
Consider carefully too what colours can you see in different parts of an object? The venetian red was delicately added into the inside of the ears where the skin shows through. I also applied it where I saw there was a very subtle rufus tinge to the rabbit’s fur. On the inside edges of the ears I added in walnut brown and dark indigo. Other hues I started layering were burnt ochre and raw umber as they were ideal base colours.
b) this stage shows how I started to precisely layer up different hues into the ears to add detail and tone. The dark indigo, walnut brown and burnt sienna worked wonderfully to create richness and depth into the creases of the ears. Get the form (3-d shape) of the object / area established first, then add the details last.
4) Blending the colours together and adding detail
c) here you can see that I continued to layer up different hues onto each other. I aimed to keep the colour usage consistent across the rabbit so that it read together as a cohesive whole. To help that effect, I also very gently layered up colours like the burnt ochre and raw umber over the lighter areas so that they were blended and linked together. Burnt sienna and burnt umber were the key colours that were used to link the darker areas.
d) last but not least, I added in some gestural marks, loose hatching, that went in the same direction as the rabbit’s fur. Look to see what direction it goes in different parts of it’s body. This helped to further the form of the animal, added detail and created the sense that it was indeed furry.
5) Practice and enjoy!
Like developing confidence with anything, practicing is the best way to further your development in using coloured pencils. The mentioned techniques can be applied to drawing from scratch and in some cases painting.
Why there are more scans than photographs in this article. My little familiar decided that he needed to be the center of attention and that the pencil made an excellent snack.
Do you prefer instructibles / tutorials that are in static form like this or videos?
Glossary
Shape – the 2 dimensional space an object takes up.
Form – the 3 dimensional ‘shape’ of an object. It is usually defined by light tints and dark shadows.
Blending – making the change between one area of colour or tone more subtle. This can be done by rubbing, (with some coloured pencils baby oil). In this tutorial I have suggested doing it by subtly layering up colours and working similar hues on top of each other.
Hatching – a drawing technique that consists of lines that are parallel to each other. When marks like that are overlapped in different directions it is called cross hatching.
Gestural – vigorous application of media, in this case coloured pencil. Gestural pencil / paint work can give a sense of energy and life to an object / art work.
Tone – the lightness or darkness of something. Tone describes form.
Tint – a light version of a colour / hue. Usually white or another super light colour is added to it or it can be achieved by letting the white of the paper show through.
Shadow – the dark version of a colour / hue. Usually black or another darker colour is added to the base colour.
Hue – pure colour. One that does not have white or black added to it. I have used it in a slightly looser sense in this article.
Crow is my first completed painting of 2017 and I have to say that I am pretty chuffed with how he has turned out. Skate decks provide a gusty format that force you to think outside of the square (or rectangle as is mostly the case), to utilize the space effectively. This work is a collaborative work with the lovely folk at The Paper Rain Project.
detail of Crow 2017 ellaquaint x the paper rain project
detail of Crow 2017 ellaquaint x the paper rain project
detail of Crow 2017 ellaquaint x the paper rain project
The Paper Rain Project is a wonderful venture based in Picton, New Zealand. Their ethos is founded upon beautifully made quality products that are either ethically produced, whether that is employing disadvantaged women in India and or environmentally friendly, for example; up-cycling old skateboards or wine barrels into aesthetically pleasing art works or functional long boards.
Fawn Bouquet is a downloadable (savable) image that is my first colouring page design. For a limited time you can save it for free to print off at your leisure, the link is attached to the photograph or here.
Colouring is an activity associated with relaxation and mindfulness, things that many of us need to focus on as a counterpoint to our hectic, multi-tasking lifestyles. I tried to apply similar principles when illustrating this little cutie, aiming to have fun with the process and not striving for perfection with the rendering or composition. Admittedly drawing like that was really hard!
Please read the page on my website that the illustration appears on, that way you can print if off to scale because for some reason the file size was reduced, stupid website! Should you like it a lot and feel that you would be happy to purchase it, it is listed on my Etsy store ellacute. I am aiming to add to that collection over the next couple of weeks.
What do you think that my next animal subject should be?